I have never liked how Apple Photos presents your library. The sidebar, the memories, the albums, the filters, the nudges to do something with your photos. All I want is to point an application at a directory, see what’s in it, and click through at my own pace. That is it. That is the whole ask.
Because that application did not exist in exactly the way I wanted, I built it. The catch: I do not know Swift. What I do have is Claude Code and a clear enough picture in my head of what the app should do. That turned out to be enough.
The source is on GitHub if you want to take a look or build it yourself.
The App
The concept is simple. Open it, point it at a folder, browse photos. No library management. No syncing. No cloud. Just your files in a directory and a grid view of thumbnails.

From the gallery you can sort by name, date modified, or file size. You can filter by file type or date range. There is a search field (Cmd+S to focus it) and a favorites system so you can star photos and filter down to just those. The thumbnail grid supports both square crop mode and aspect-ratio mode depending on whether you want uniformity or want to see the whole frame. Per-folder settings persist across launches, so the app remembers how you had things set up the last time you opened that directory.
Click a thumbnail and you get the full image view.
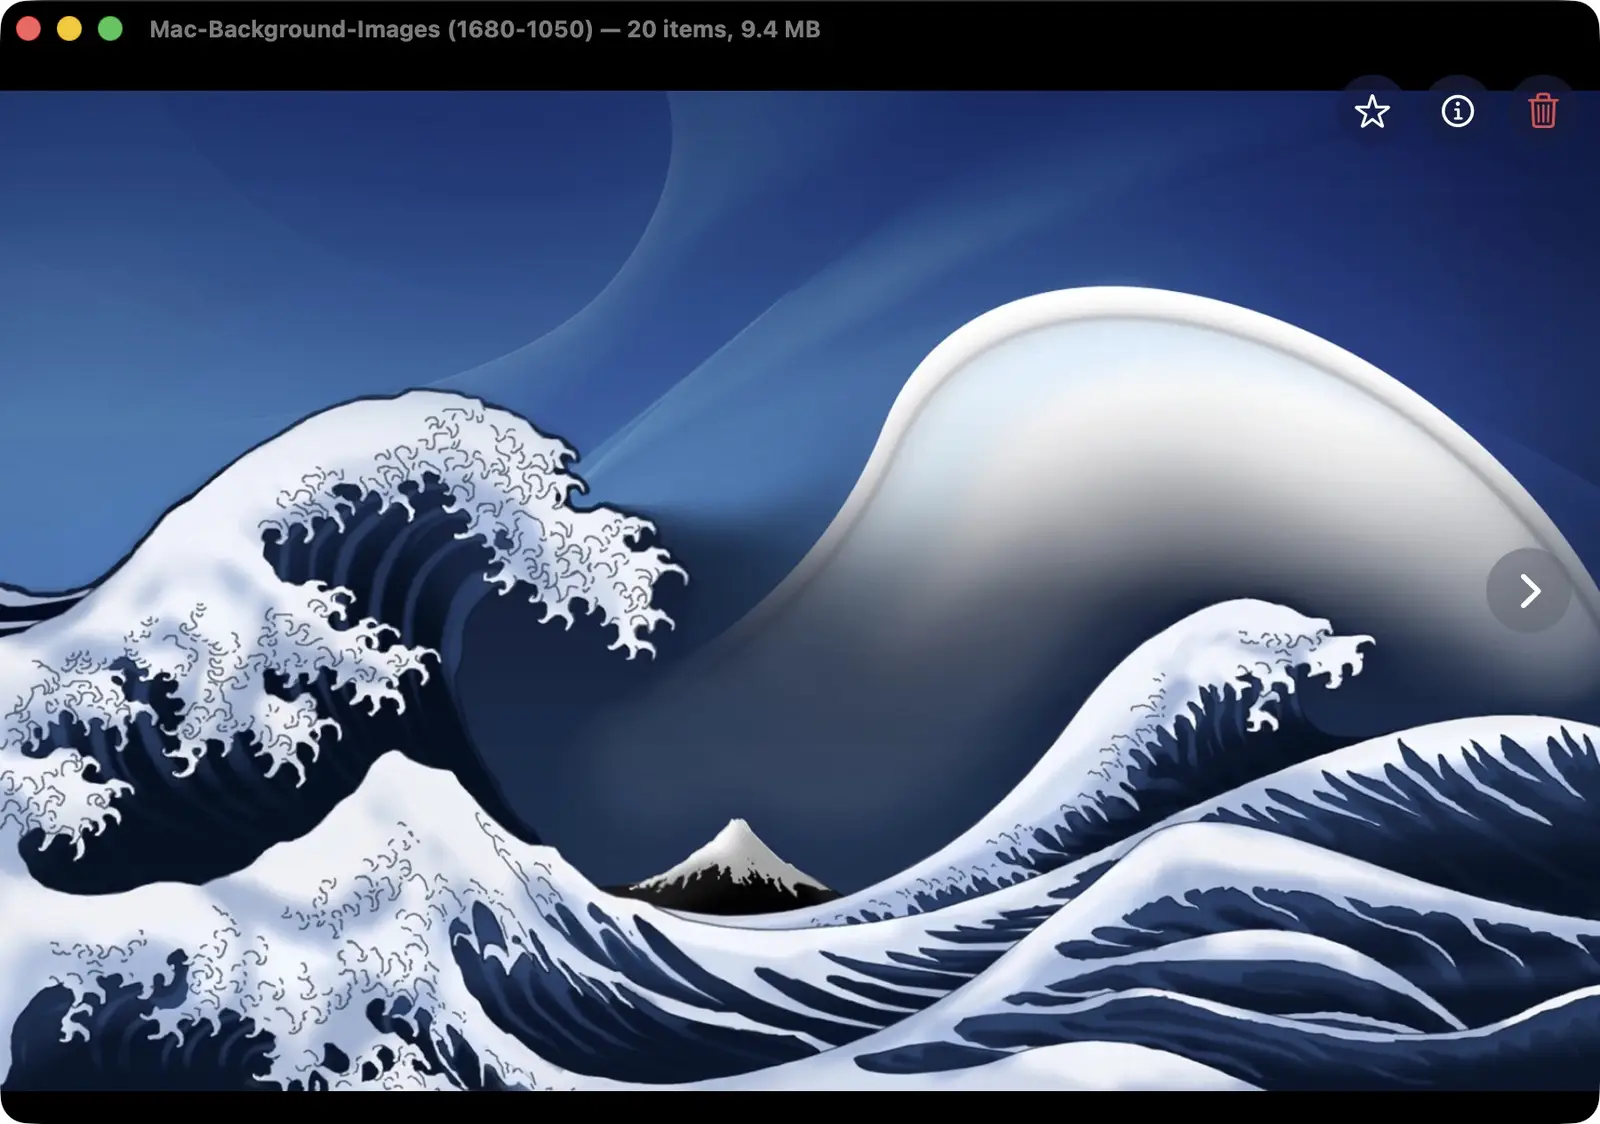
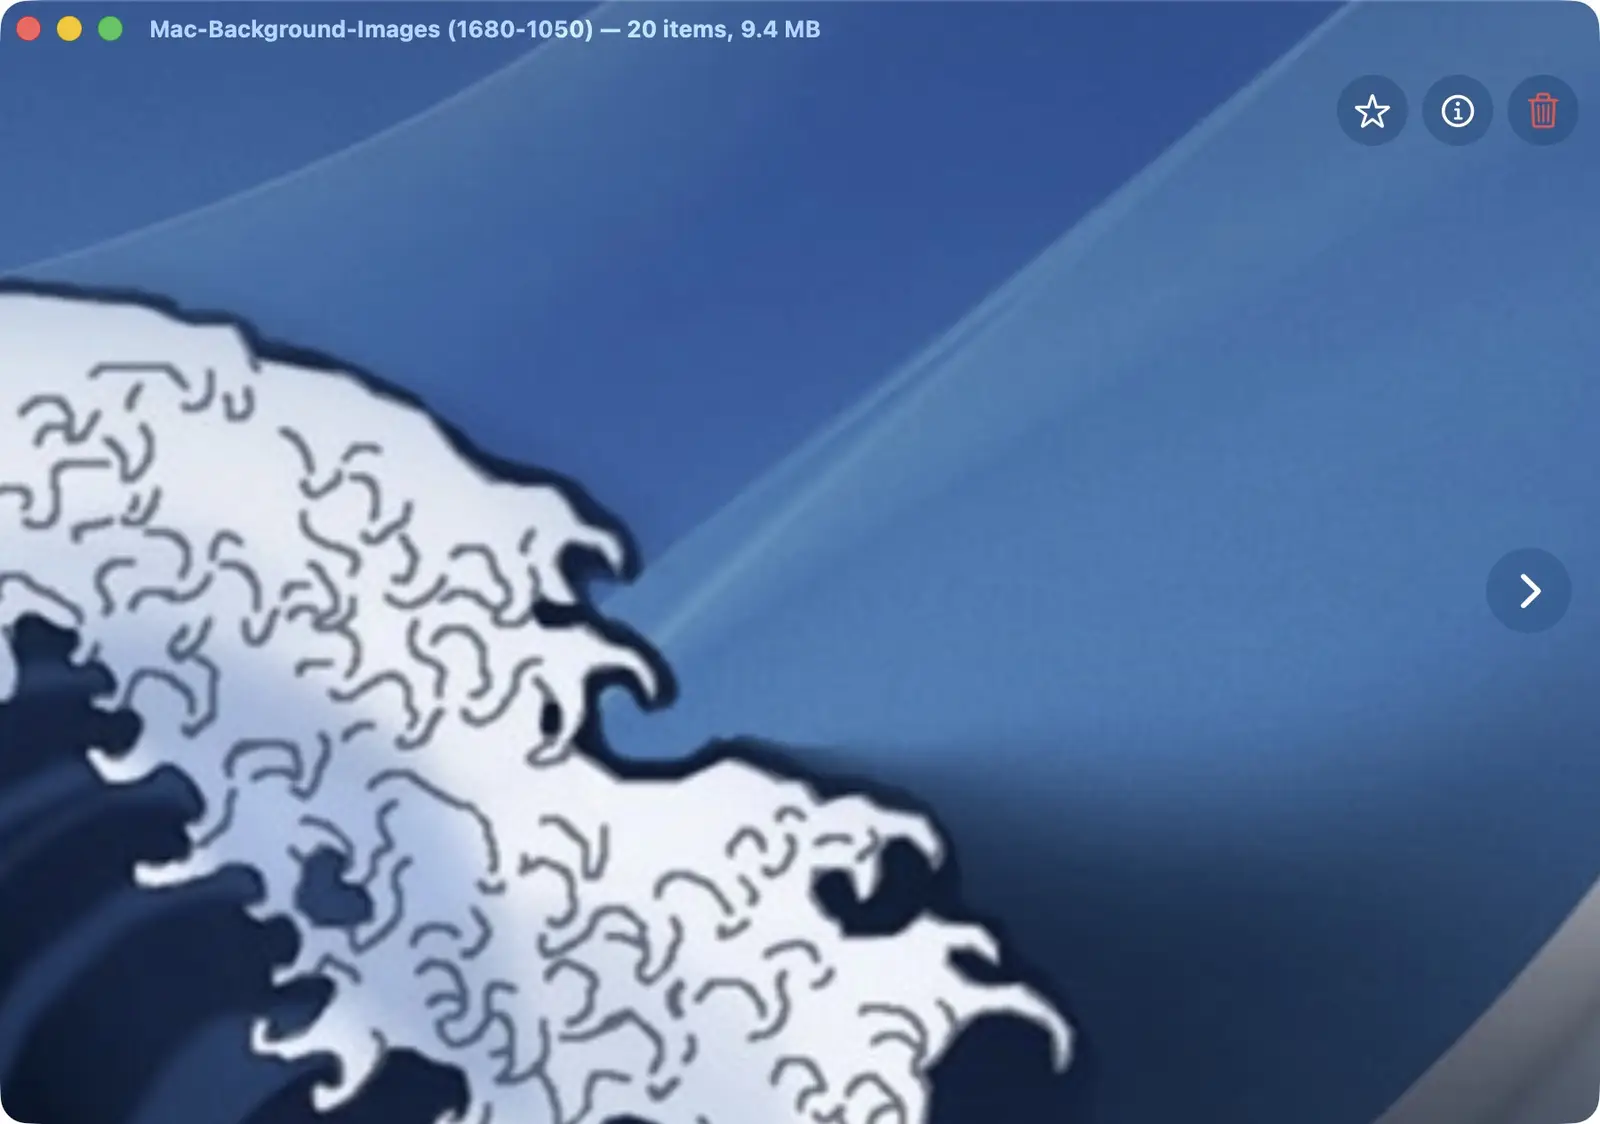
From there you can zoom with the scroll wheel, Cmd++ and Cmd+-, or Cmd+1 to jump to actual pixels. Pan by clicking and dragging. Arrow keys move between images when you’re at the default zoom level, and pan when you’re zoomed in.
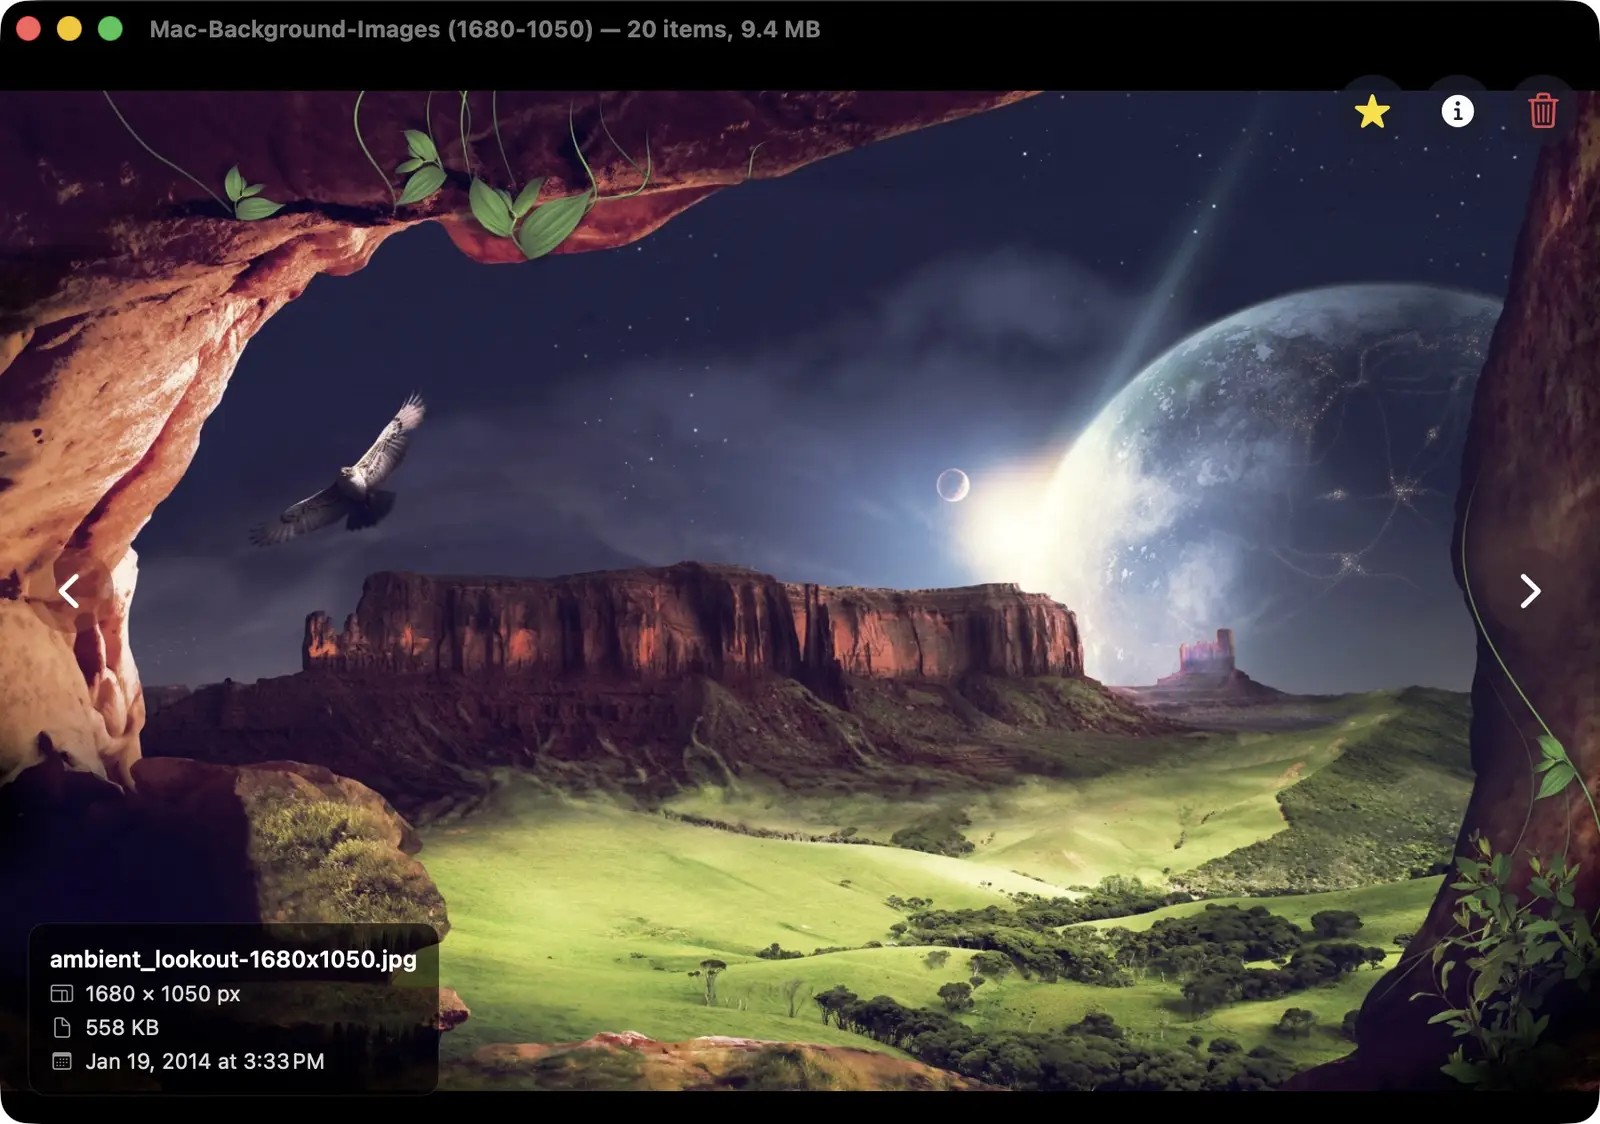
Press I to toggle an info overlay showing the filename, pixel dimensions, file size, and date modified. You can also star the image from here.
Keyboard Controls
The shortcuts are the part I use most. Once you have opened a folder you can navigate, zoom, delete, and manage photos without touching a mouse.
- Arrow keys — move between images or pan when zoomed
- Cmd++ / Cmd+- — zoom in and out
- Cmd+0 — fit to window
- Cmd+1 — actual pixels
- Cmd+Delete — move current image to Trash
- Cmd+T — toggle square vs. aspect-ratio thumbnails
- Cmd+R — refresh the folder
- Cmd+N — open a new independent window
- Cmd+F — full screen
- Cmd+P — start or stop the slideshow
The folder also auto-refreshes when files are added or removed. If you’re pulling photos off a camera into a directory you already have open, they appear without you doing anything.
The Slideshow
Cmd+P starts a Ken Burns slideshow. Portrait images pan top to bottom, landscape images pan left to right. There’s a crossfade transition on auto-advance and an instant cut on manual navigation. The interval is adjustable down to 0.5 seconds, and the effect can be toggled on or off.
Full-screen mode plus the slideshow is what I use when I want photos running on a display for an event or a party. It’s a better use case for this than anything Apple TV’s screensaver offers when you want control over exactly what folder is being shown.
One thing I plan to add: randomized playback order. Right now the slideshow steps through images in their current sort order, which is fine but predictable. Randomize would make it significantly more useful for ambient display.
Working with Claude Code
I wrote a project.md file before touching any code. Not a full spec, just a plain-language description of what the app should do and why. As the project moved forward I kept updating it. Claude could read that file at the start of each session and maintain coherent context on what we were building and what decisions had already been made.
Claude handled the Swift boilerplate fast. The SwiftUI view scaffolding, the file system watcher, the thumbnail cache, the settings persistence model. Anything structural came quickly. What it does not do is make product decisions. When I wanted to add the Ken Burns effect, I had to decide what that meant for this app before Claude could build it. The direction stays with you.
Debugging took multiple rounds on some things. The pattern that worked: describe exactly what you’re seeing, point to the relevant part of the code, and if Claude’s first pass doesn’t find it, push it to look further out in the surrounding code. It will find the issue eventually. The trick is not accepting “I can’t reproduce that” as an answer and instead walking through the symptoms more specifically.
The key takeaway is that I spent a couple of hours building something I would have spent days learning to build from scratch. I can still reason about the Swift code and follow what it’s doing. I just don’t have to write it from scratch.
Performance and Security
Two things I wanted to be deliberate about from the start: performance and security.
On performance, the main concern was the thumbnail cache. If the app tries to load full-resolution images just to display a 150px thumbnail, scrolling a folder with a few hundred photos gets slow fast. Claude suggested aggressive caching early on, and the approach it landed on keeps the gallery responsive even with large folders.
On security, I had Claude review the code specifically for how it was handling file system access and user data. No network calls, no telemetry, no external dependencies. What you open stays on your machine. A feature I want to add in the future is per-directory authentication, something like Touch ID before loading a specific folder.
What’s Next
A short list of things I want to add:
- Randomized slideshow order
- Touch ID / password authentication per folder
- Some form of basic metadata editing (at least rename)
The project is open and the build process is straightforward. If you want to run it yourself, clone the repo, run ./build-app.sh, and copy the output to /Applications.