This document was written to help a co-worker set up our wp-foundation-six project setup on Windows. In the past I’ve always set this project up on macOS, but Windows has its own challenges. If you just need to get Ubuntu running on Windows you only need to follow down to step 4. Everything else is specific to our use case.
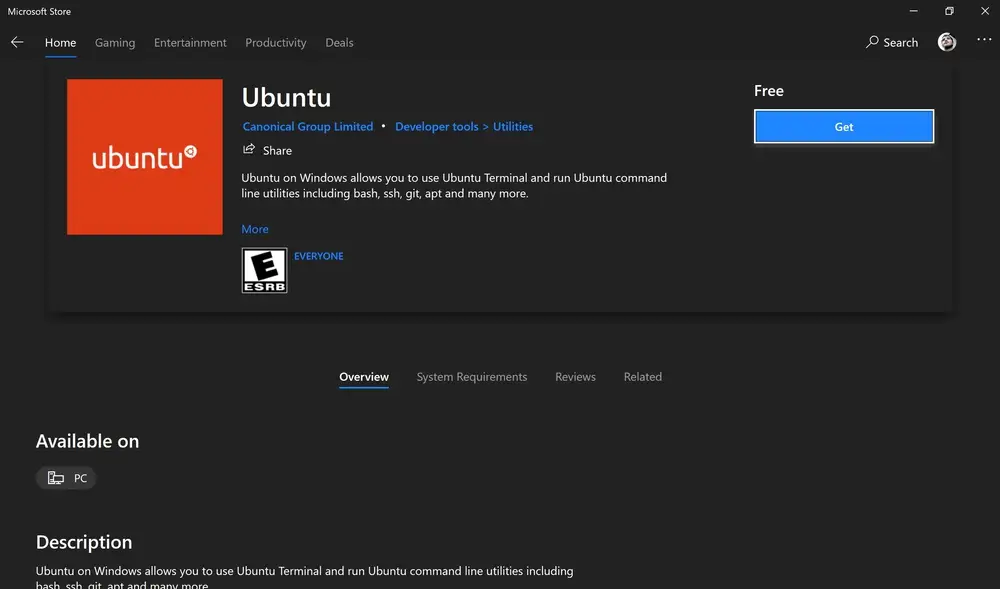
1. Install Ubuntu
Open the windows store and install the Ubuntu application. These instructions are based on Ubuntu 20.04.
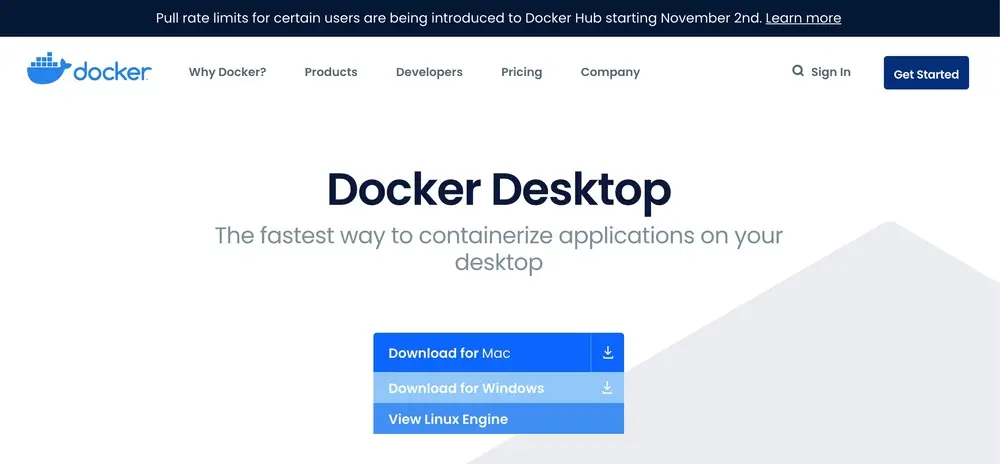
1.1. Install Docker Desktop for Windows
You can download the Docker Desktop application from Docker website:
2. Install WSL V2
The following instructions are based on Docker Desktop WSL 2 backend documentation.
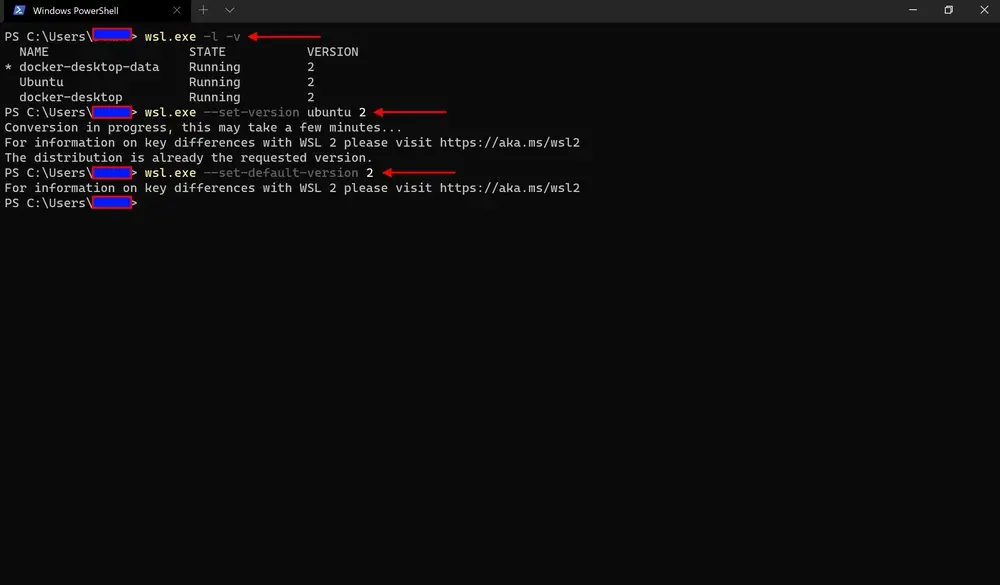
In the windows terminal run:
# To check the WSL mode, run:
wsl.exe -l -v

# To upgrade your existing Linux distro to v2, run:
wsl.exe --set-version ubuntu 2

# To set v2 as the default version for future installations, run:
wsl.exe --set-default-version 2
3. Update Docker Settings
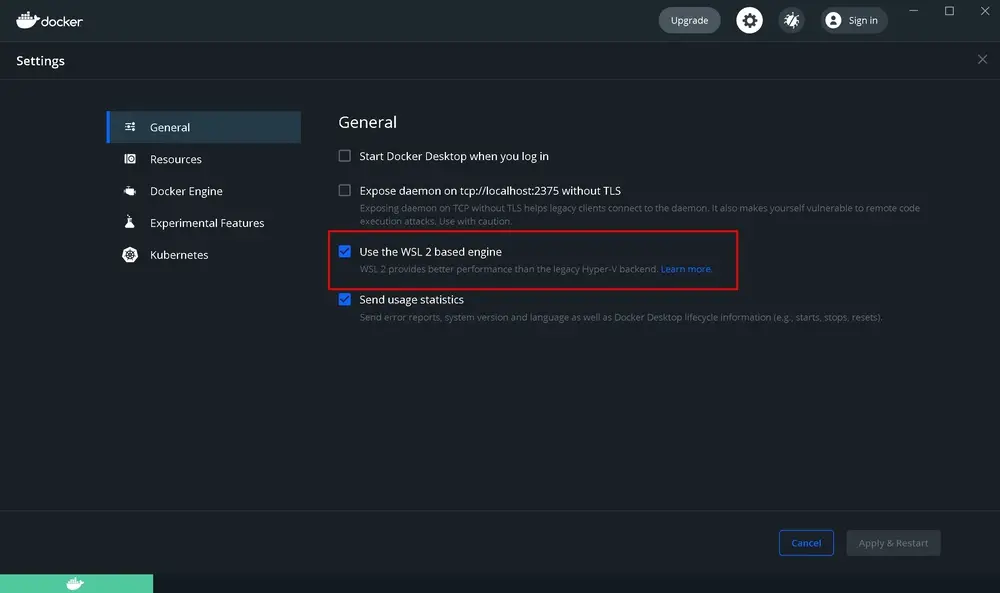
Open docker for desktop and go to the application settings.
Under “General” make sure “Use the WSL 2 based engine” is checked
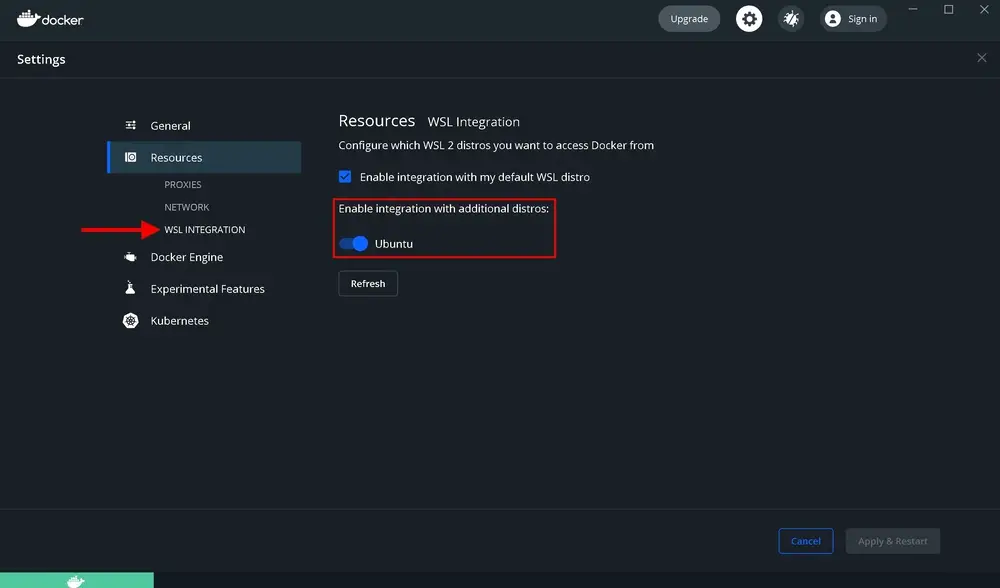
Then under “Resources > WSL Integration” make sure Ubuntu-20.02 is checked off for Enable integration with additional distros.
Restart docker to make sure these settings have been applied.
4. If Docker Has Issues Starting (optional)
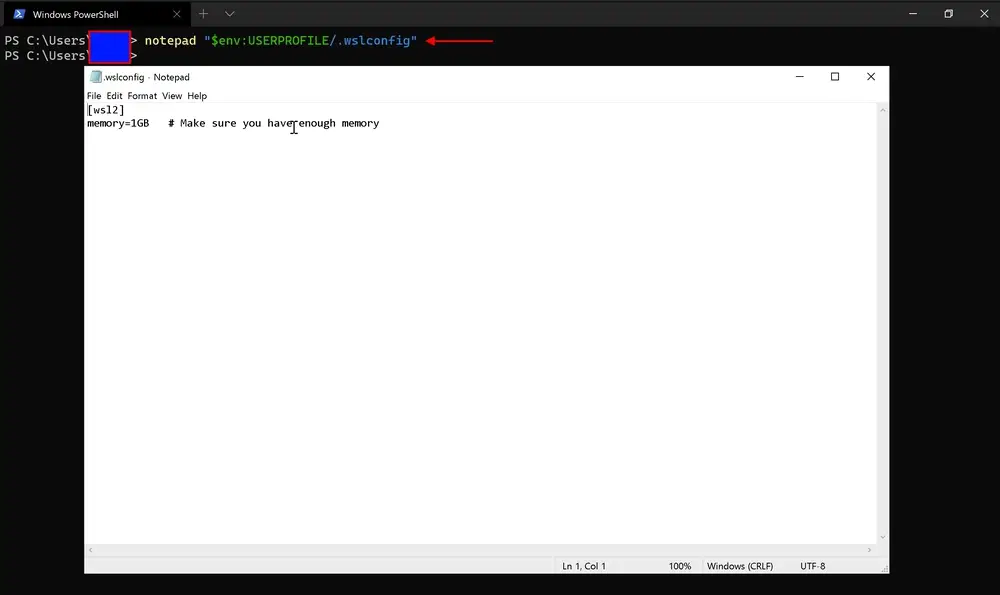
If docker refuses to start, shutdown docker and open the windows terminal. Then run the following:
$ wsl --shutdown
$ notepad "$env:USERPROFILE/.wslconfig"
Add this to .wslconfig:
[wsl2]
memory=1GB   # Make sure you have enough memory
Save and restart docker
5. Setting Up Ubuntu
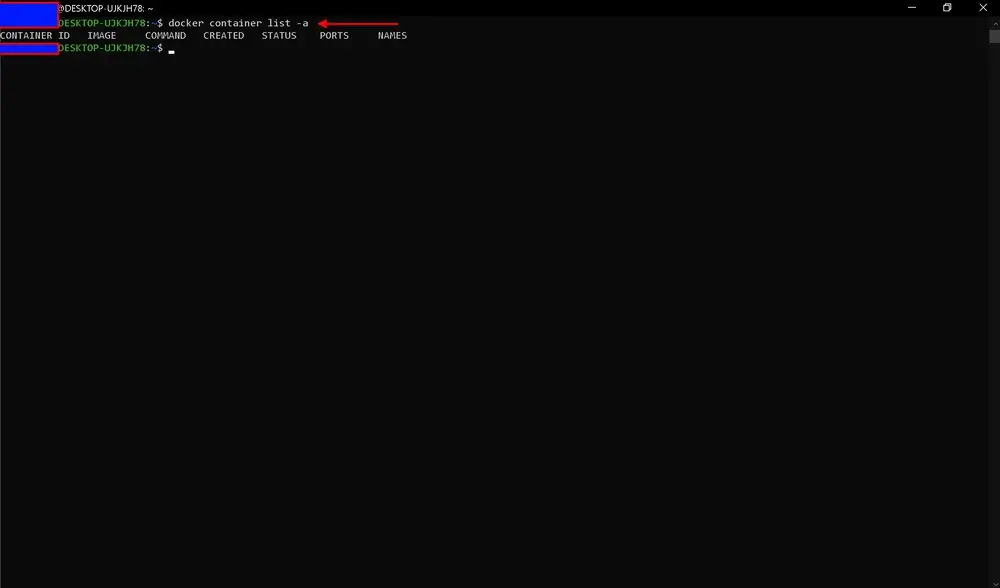
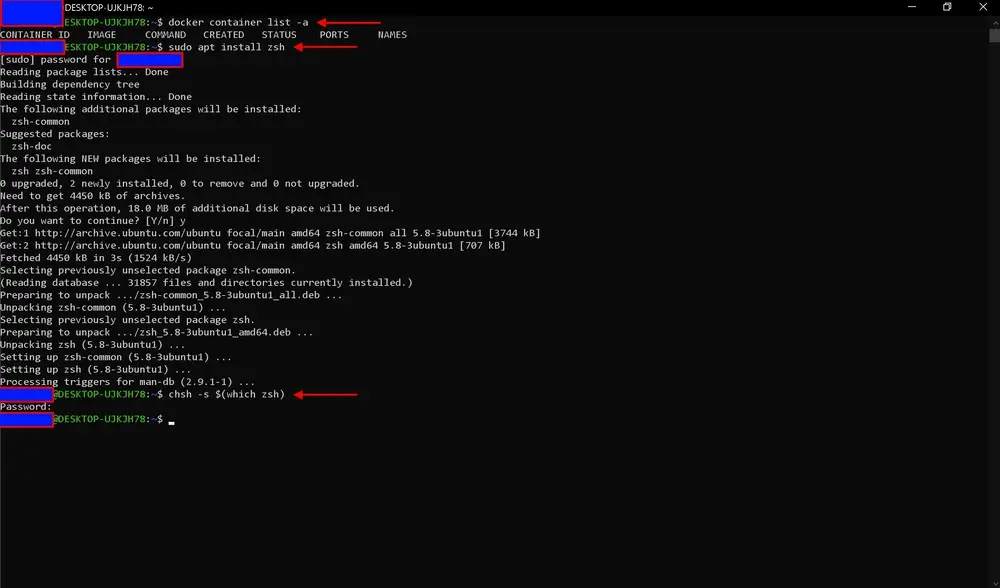
Open the Ubuntu Terminal and test that you have access to docker by running:
docker container list -a
5.1 Installing ZSH
These are optional tools to make the interface easier to use. These are my preferences; run with whatever shell you prefer.
sudo apt install zsh # installs zsh
chsh -s $(which zsh) # makes zsh your default shell on startup
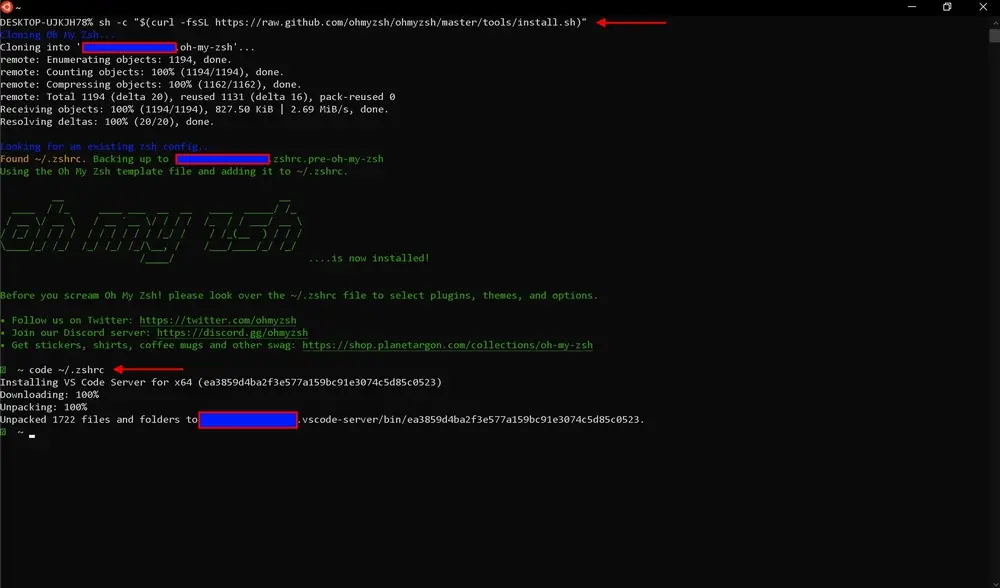
5.2 Installing OhMyZSH
When I use zsh, I prefer to install OhMyZSH. Follow their documentation on how to install OMZ.
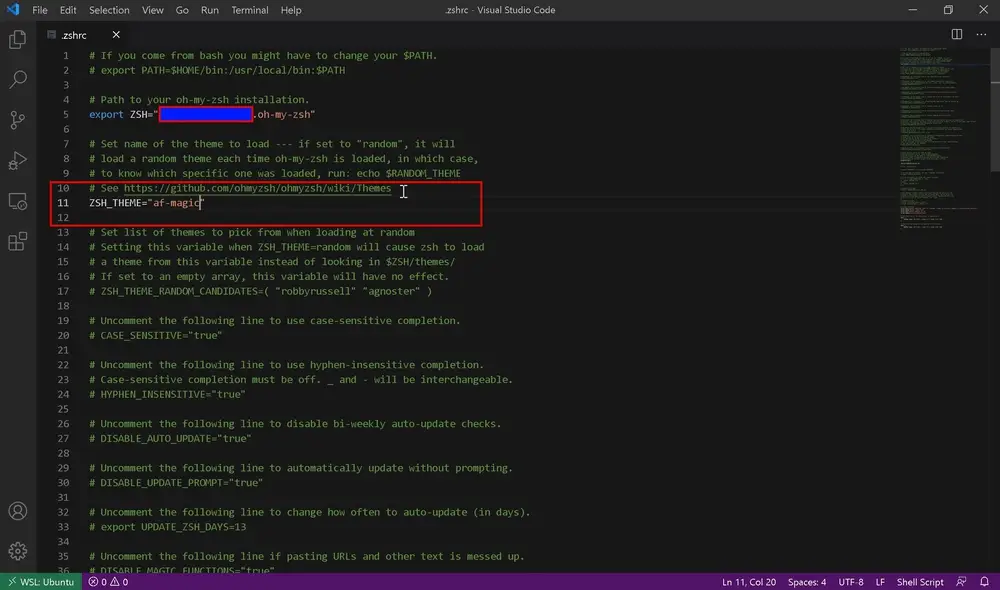
After OMZ is installed open the ~/.zshrc file and set the theme to: af-magic. See all the other OMZ themes here:
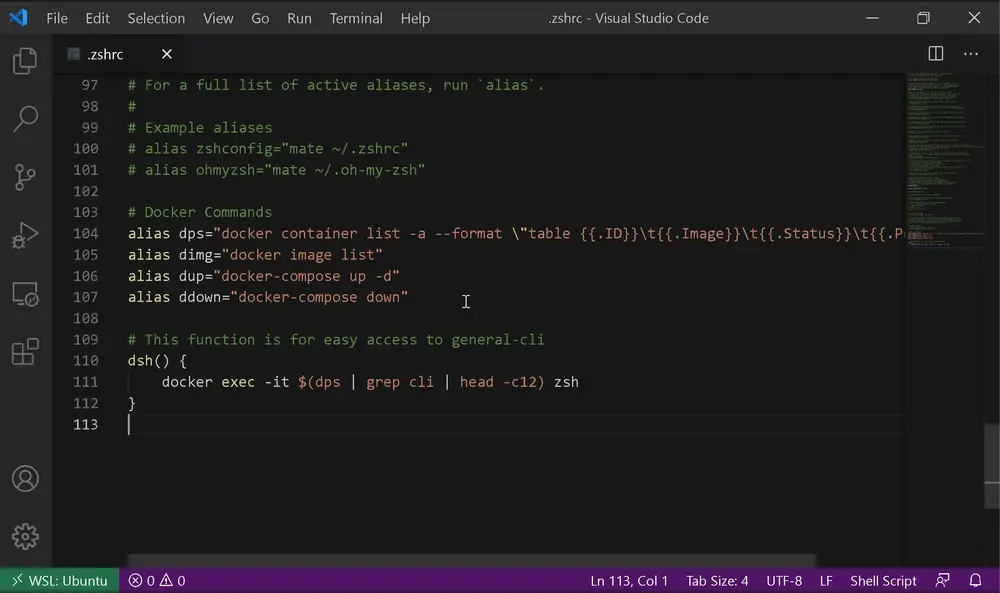
5.3 Add aliases for Docker
Add this to the bottom of your ~/.zshrc file:
# Docker Commands
alias dps="docker container list -a --format \"table {{.ID}}\t{{.Image}}\t{{.Status}}\t{{.Ports}}\""
alias dimg="docker image list"
alias dup="docker-compose up -d"
alias ddown="docker-compose down"

# This function is for easy access to general-cli
dsh() {
    docker exec -it $(dps | grep cli | head -c12) zsh
}
Save your ~/.zshrc file and update your shell by running:
source ~/.zshrc
Or you can close and open a new Ubuntu terminal window.
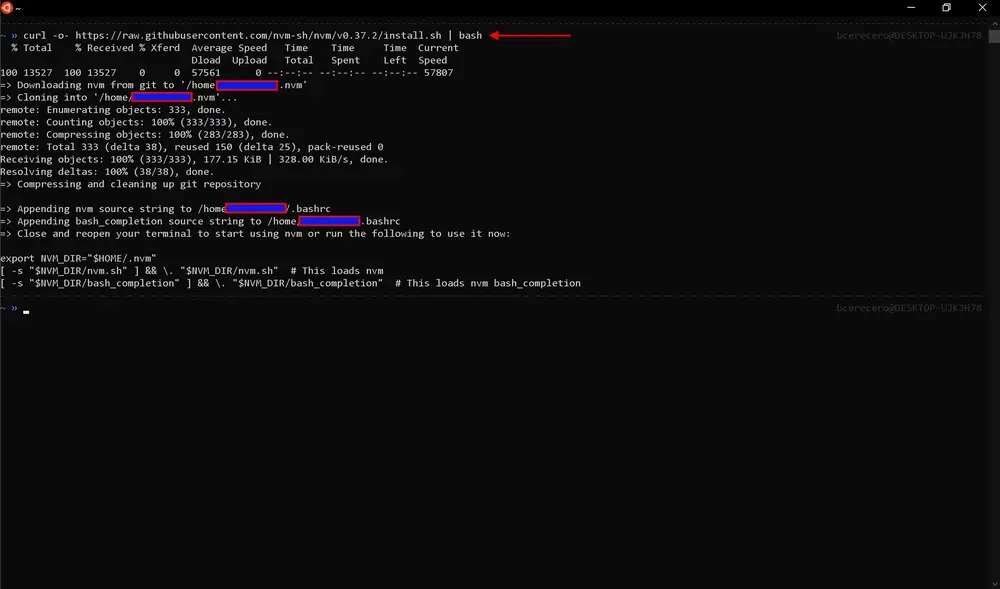
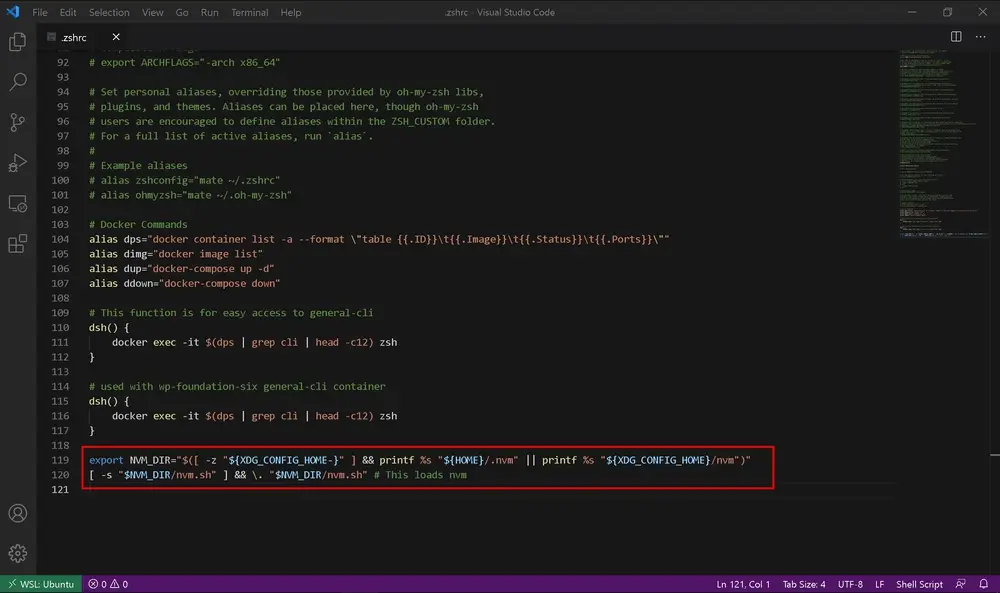
5.4 Install NVM and Node
Install NVM using the instruction from the NVM repo:
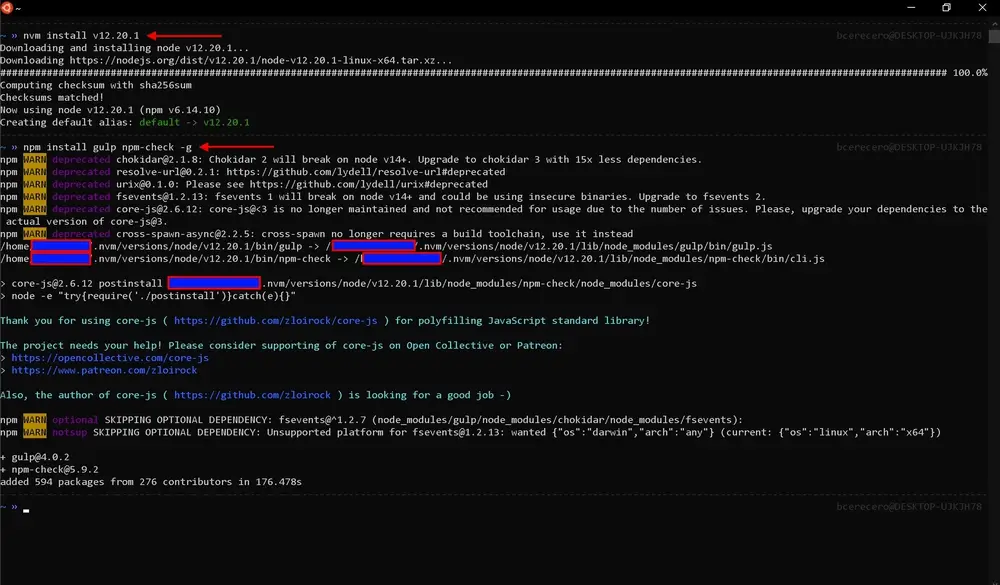
Once installed run:
nvm install v12.20.1
npm install gulp npm-check -g
5.5 Install Composer
sudo apt install php7.4 # use php8 if you are already on it
php -v # confirm that php is installed
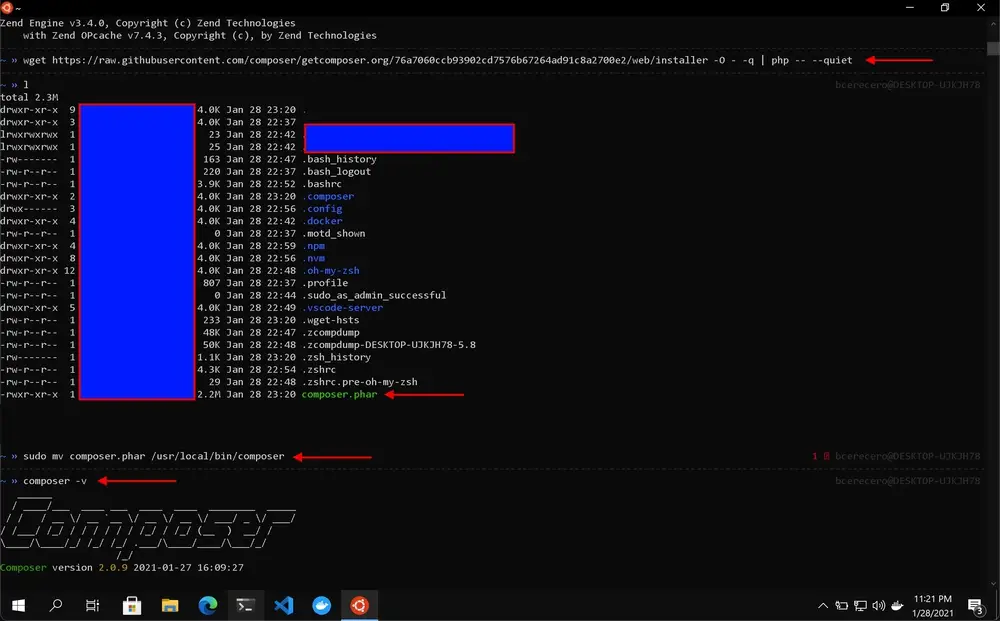
Use the wget script at the bottom of this page on the How do I install Composer programmatically page.
The follow the instructions on how to install composer globally on this page:
sudo mv composer.phar /usr/local/bin/composer
composer -v

6. Installing dh-autoreconf:
wp-foundation-six uses imagemin-gifsicle which depends on gifsicle-bin which was removed from the GNU/Linux binary files of gifsicle due to security vulnerabilities in version 5.0.0. That is why the binary has to be built from source and why you need to install dh-autoreconf.
Run the following command:
sudo apt update
sudo apt install dh-autoreconf
Now you should be able to run npm install without getting any errors.
7. Confirm wp-foundation-six works
If you installed all the docker alias commands into your ~/.zshrc files from above; the following will work when ran in order.
take ~/repositories
git clone https://github.com/Blake-C/wp-foundation-six.git
cd wp-foundation-six
dup
dsh
wp-init
exit
When wp-init is done you can exit general-cli.
When done run the follow to bring down wp-foundation-six:
ddown